Monday, 3 June 2013

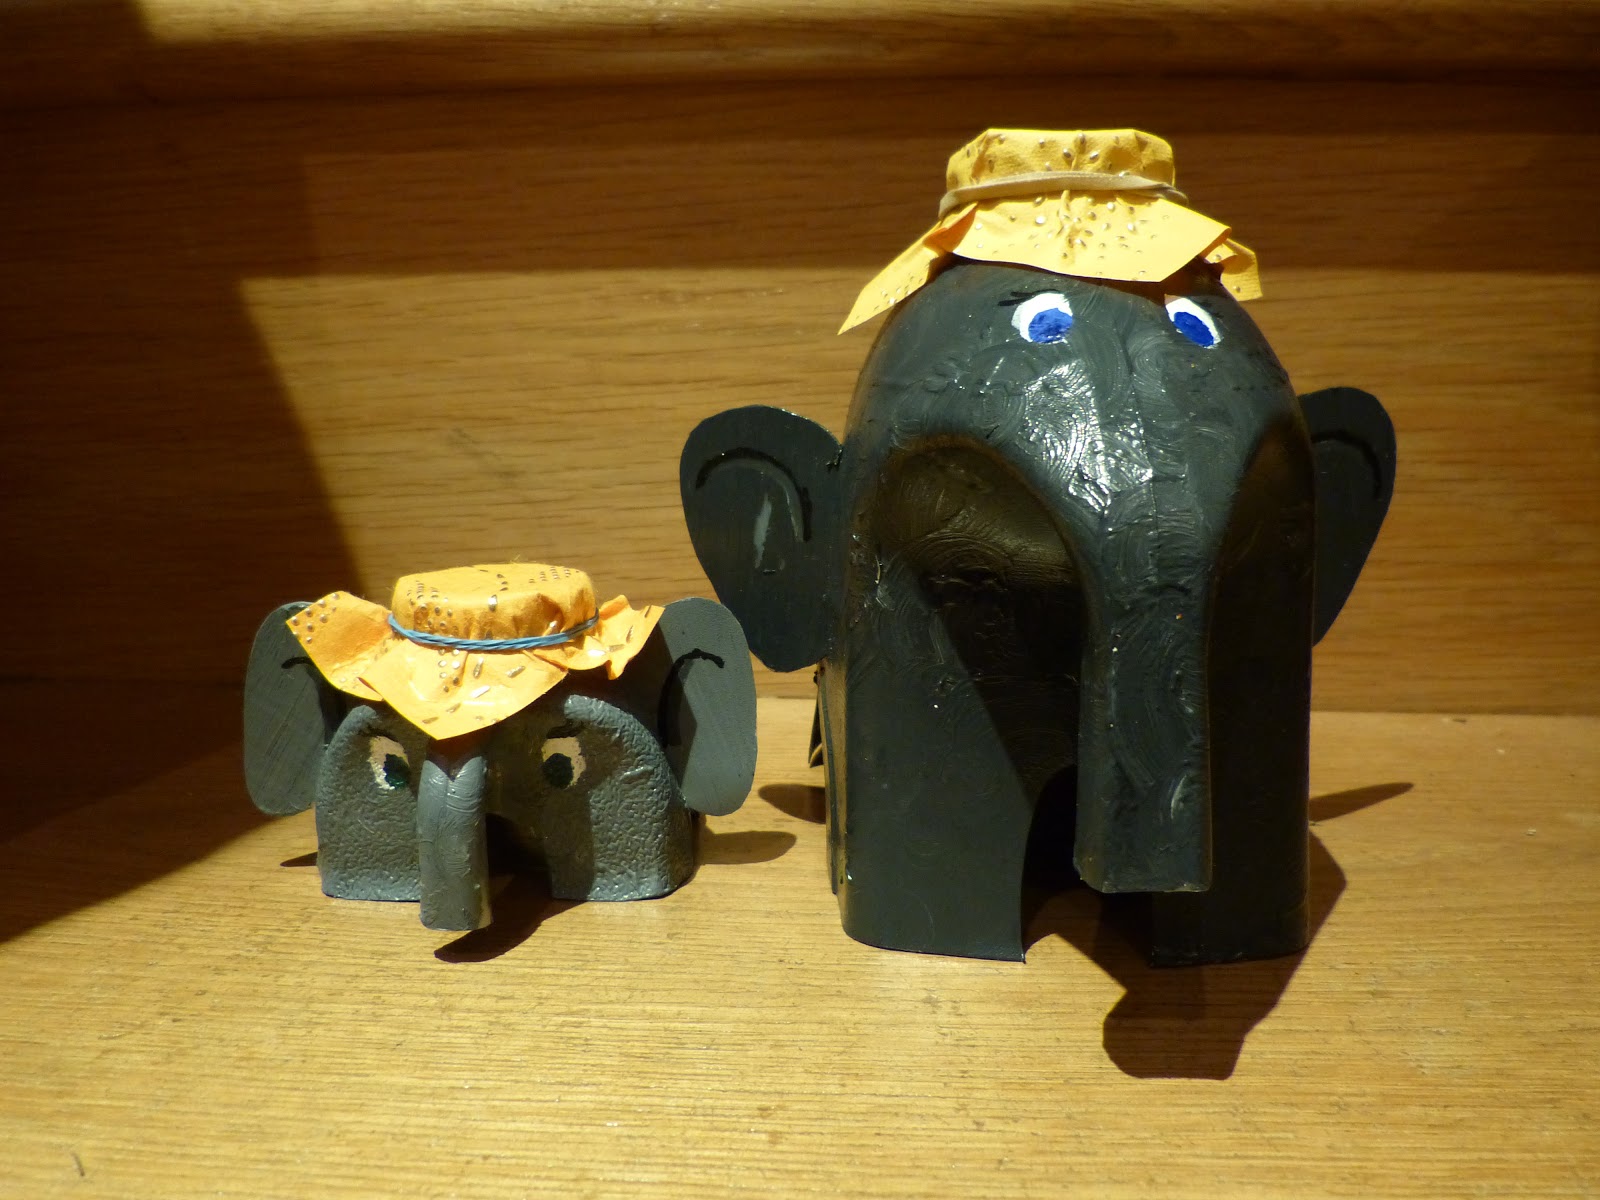
Milk bottle Elephant


I absolutely love elephants they are my favourite animal and these particular elephants were made afew months ago for a science project at school on elephants- where my love for elephants began!

Though these are incredibly simple and very easy to make I still decided to put them on my blog for the viewers who may be children, have children or just love elephants and using recycled materials like I do.

 
Just a few facts about them…

 
  • I decided to not paint them  too neatly and instead with curves and slightly rough as I like the texture and it makes them more unique (not that milk bottle elephants aren’t unique).
  • I used two different types of milk bottles, a really small one and a really big one, even though originally I wanted to make them out of 4 pint milk bottles. Which proves that even if everything doesn’t go to plan just improvise and you might get even better results and in my case I didn’t get two of the same elephants I got a mummy and a baby elephant instead!
  • I didn’t know what to do with the green bottle caps and I suppose it’s abit lazy but I just put some pretty paper on top, with a elastic band, and made them look like the festival elephants you would often see in places like Asia.


Simple but effective. xxx


Monday, 13 May 2013

Tweed Pigs!


Pigs!
I'm not a fan of the animal but I don't mind a cute little tweed pig. Mind you these were for my parents so it’s their decision if they like them or not and thankfully the two couples got on very well!

What I found most difficult was that I completely made these pigs by myself, normally I might ask for help or advice when needs be. But even the instructions I used weren't that great.

What is really special about these pigs are that they were for my parents because it was their 22nd anniversary (congratulations mum and dad)! Another special thing about these little pigs is that I used authentic Harris Tweed. And I fell in love with it!

All though I used instructions, I found they where unclear so I had to make my own adjustment and add in some extra steps to the process. I say this as when I was making it I desperately wanted some advice and I would be happy to give my own advice to anyone who may want to make these pigs or anything similar to them. So of course if you have any questions or anything please comment!

Hope you like them! Xx

Tuesday, 16 April 2013

seasonal photography

Picture1 -Autumn fungi


picture2- winter thistle


picture3- summer flowers


Here is some photography I did last year for a competition. The competition was to take pictures of all four seasons, the photos here are my favourites!


All these pictures were taken in the South Downs.


Picture1


This picture was is fungi growing from a tree by a pathway.

The thing I am most happy with in this picture is the colours. I think the vibrant, almost block, colour orange standing out well against the misty brown background. I am also happy with the composition of this photo.


Picture 2


This picture is of a dead thistle with other thistles in the background.

I admit that the colours of this picture are slightly dull but there is something about the crispness of the foreground that I like about it. Also the atmosphere created by the ice onto of the thistle appeals to the season the photo was for (winter)

Picture3

This photo was taken in the same place as picture 2, believe it or not.

As you may have guessed I like to use colour in my photography, and in this picture I have lived up to my wishes. I have focused on the pink flower and the little yellow flower however even though purple is the most common colour in this scene I haven’t focused on one of the purple flowers and so the main pink flower looks good against the purple flowers in the background.

Picture 4

This photo was taken by a pathway in spring.

I like the crispness of the flowers and the way the camera also focused on a spider-web however to improve this photo I need more light, ideally a sunrise kind of light.

Eyes


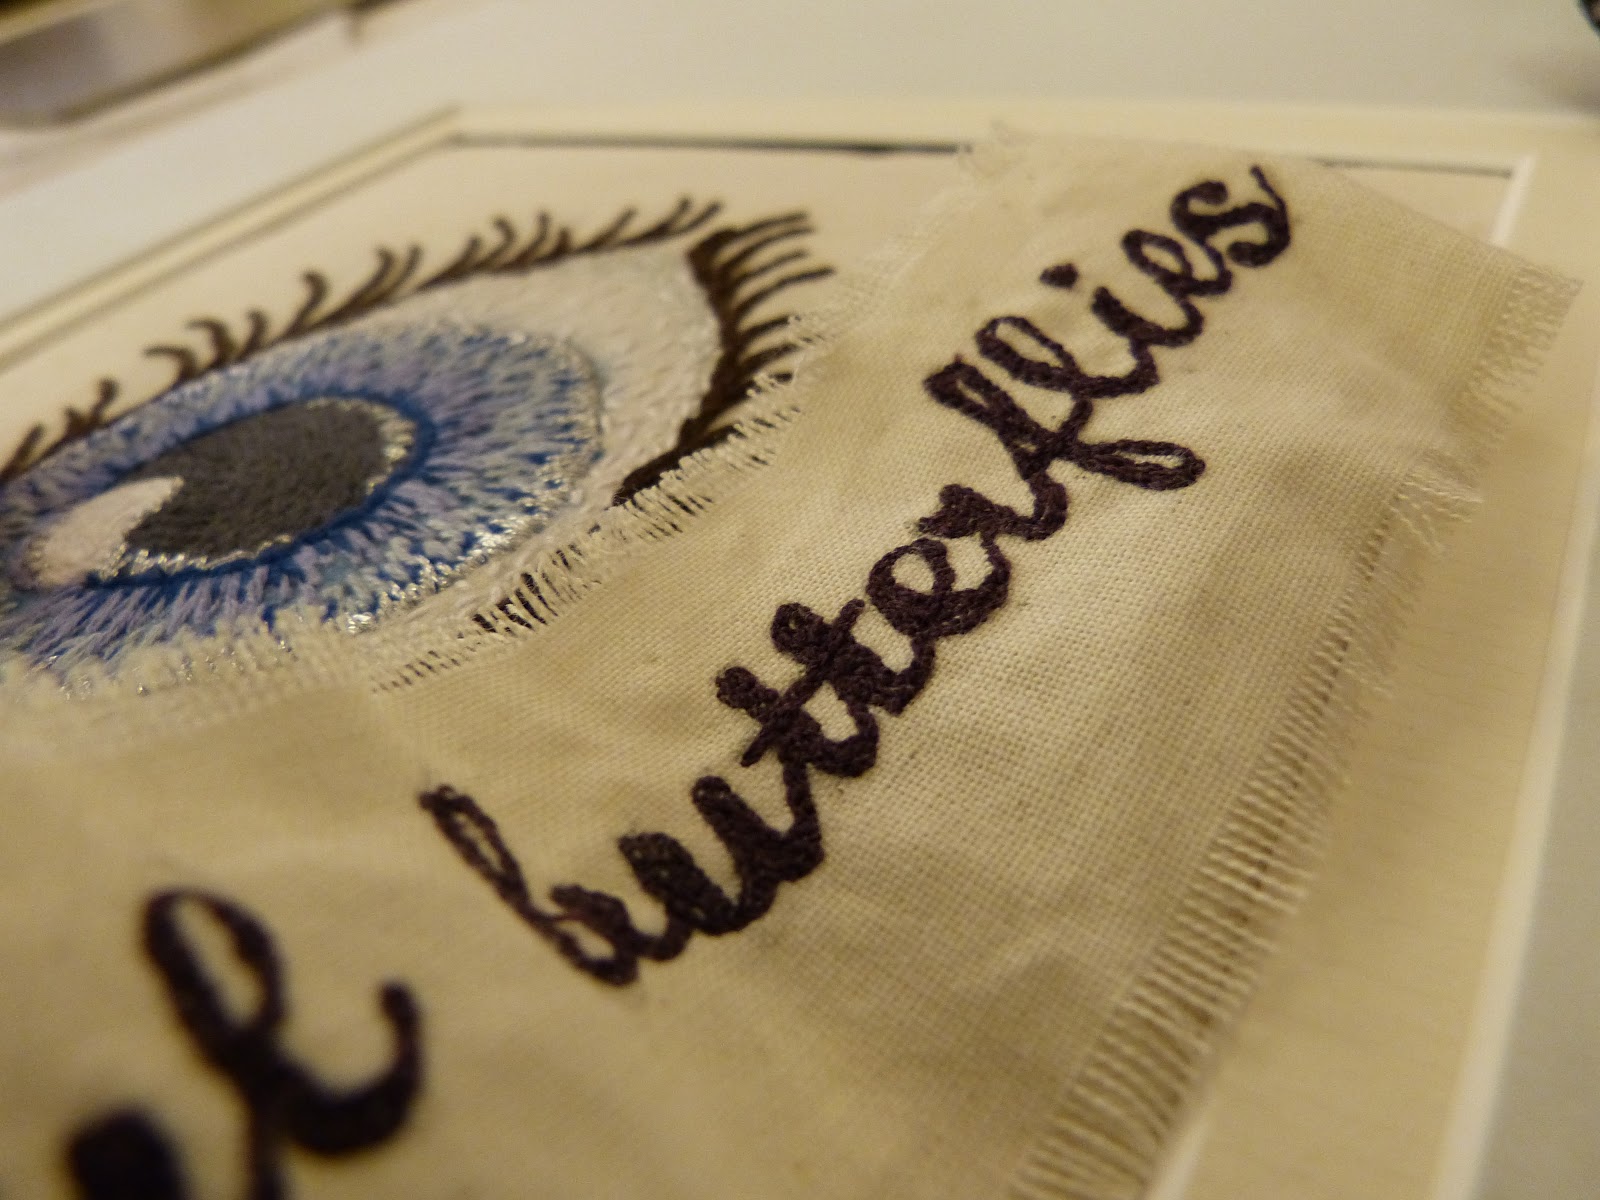
This is a project I have been working on for a couple of months.


I’m calling it “Look daddy” because of the theme I want this picture to convey. The theme of the picture is childhood and the way a young child sees life.


I choose to use eyes because I always see people at school or just doodling on a page, drawing them so I thought I would do a twist on the usual pencil or pen drawn eyes, so I hand embroidered the eyes with as much detail as possible.

Also I did eyes because I once read some where that “eyes are the windows of your soul” however cheesy that sounds it is true. I mean, when ever I am looking at a portrait of someone I always look at the eyes because some how your eyes always show your emotions. And so I decided that I would put that “to the test” and look into it in detail. And that was one of my goals in this picture.


Again I have done some more machine embroidered butterflies on dissolvable fabric. I’m beginning to think that butterflies are kinda my thing. ;)

I have chosen these particular species of butterflies because these species live on the South Downs were I am growing up. By having these butterflies it adds to the story behind the picture. (I would explain why it adds to the story behind the picture but I think that’s up to you, after all I don’t want to give away everything!)


What I like about this picture is that it’s different to the usual art you see because everything nowadays it themed around violence and stuff like “What has the world come to!!!” but my art piece is positive, it’s themed on how and child sees nature, the world and their obvious joy.


What was challenging about this piece was surprisingly the machine embroidery on dissolvable fabric. I usually use machine embroidery alot and I was expecting the hand embroidery to be difficult and boring but I got into a role of things and really enjoyed it!

Also what was difficult was finding time to do it because if I am not at school I am doing homework so I had to squeeze in time to do the embroidery.


When I framed the eyes, I used a box frame and made some butterflies to sit on the mount rather than at the same level as the eyes. I also fixed one of them outside the glass to give it even more depth.


Lastly I would like to say thank you to my family for helping me with a lot of the artistic decisions I had to make, especially my dad and mum!

Monday, 1 April 2013

Easter Cupcakes!


Yummy! Cupcakes are not only tasty they are also very fun to make especially the decorating part!

So now it’s the Easter holidays I finally had time to make cakes. I’ve been planning to make cakes since Christmas and finally my plans came true, and what’s a better time to make cakes then at Easter!

Decorating the cakes I think is the most important part of making cupcakes so first I did my research and found inspiration, then I designed my own ideas, it took me a while to get into the piping part of things but soon enough it came back to me.

Two words to sum up these easter cupcakes simple and sweet!

Friday, 8 March 2013

cute owls


Well there is one thing for sure about these cute toy owls, they are great cuddly friends and they make a great present! Plus they are easy and fun to make so are ideal for textiles beginners and for the more advanced sewers why not try some free machine embroidery on the back of the owl.
 
The blue owl was the first owl I made. She was made at Young Embroiders (the group I go to monthly to learn more and more about textiles) I loved this little owl and its design so I  then made another one for my little cousin and then one for my sister however I had to make my own templates for both of them.

The white owl is called Ness. I made her for my sister as she was begging me all of last year to make her one so on her 21st birthday a few days ago I gave little Ness to her!
 
The most challenging thing is to make up your mind of what fabric to use!
 
 
The only problem I have with this is sadly I don’t have a name for my blue owl so why not suggest a name (in the comments) and help me with my hard decision!

Sunday, 3 March 2013

Quilt square


I made this quilt square for one of "Steyning Grammar School 400 Heritage Quilts" celebrating Steyning grammar school school's 400years anniversary! Each square is being made by someone to do with the school whether they are a student or a volunteer. Also each squares theme has to be about Steyning (Steyning is a small town in the country side of Sussex) and its beauty.

My quilt square is about the natural flowers you can find on the South Downs and also a species of beautiful butterfly that is found also on the Downs.
I started of by finding resources, I first researched the Steyning Downland Scheme where I found out about lots of butterflies and decided to include the species Adonis Blue in my work.

However the way I got resources for the flowers I was particularly happy with as I used my own photography.

Flowers                                  

Using stitches I loved most I hand sewed the flowers from my own photography.

Some stitches you will see in there is backstitch, seed stitch, satin stitch, fly stitch and my very favorite french knots!!!

Butterflies

The way I did these Adonis Blue butterflies was one of my favorite ways of machine embroidery. I used dissolvable fabric! After sewing onto the fabric I then put the sewing in warm water and the excess fabric went away leaving the rest as a glue, then all I had to do was wait for them to dry by the fire( picture1 ) and hand sew them onto the square.


If you want to find out a bit more about the SGS 400 Heritage Quilts  go to http://adukeblog.wordpress.com/

Or

http://www.sgs.uk.net/SGS-400